Here at Illustrated Ministry, we love the creativity of our customers and our community. We’ve said it before, and we’ll say it again and again: some of our best product ideas have come from our customers. Some of these include backpack tags, the inspiration for creating Compassion Camp, and our Illustrated Nativity Sticker Sheets, to name a few. We are delighted when customers reach out to us with fun ideas.
Last year, we received a phone call from some friends at Saint John’s United Methodist Church (Austin, Texas), and they had a fun idea.
They loved our illustrated figures in the shadow box activity from An Illustrated Advent for Families: In Light & Darkness.
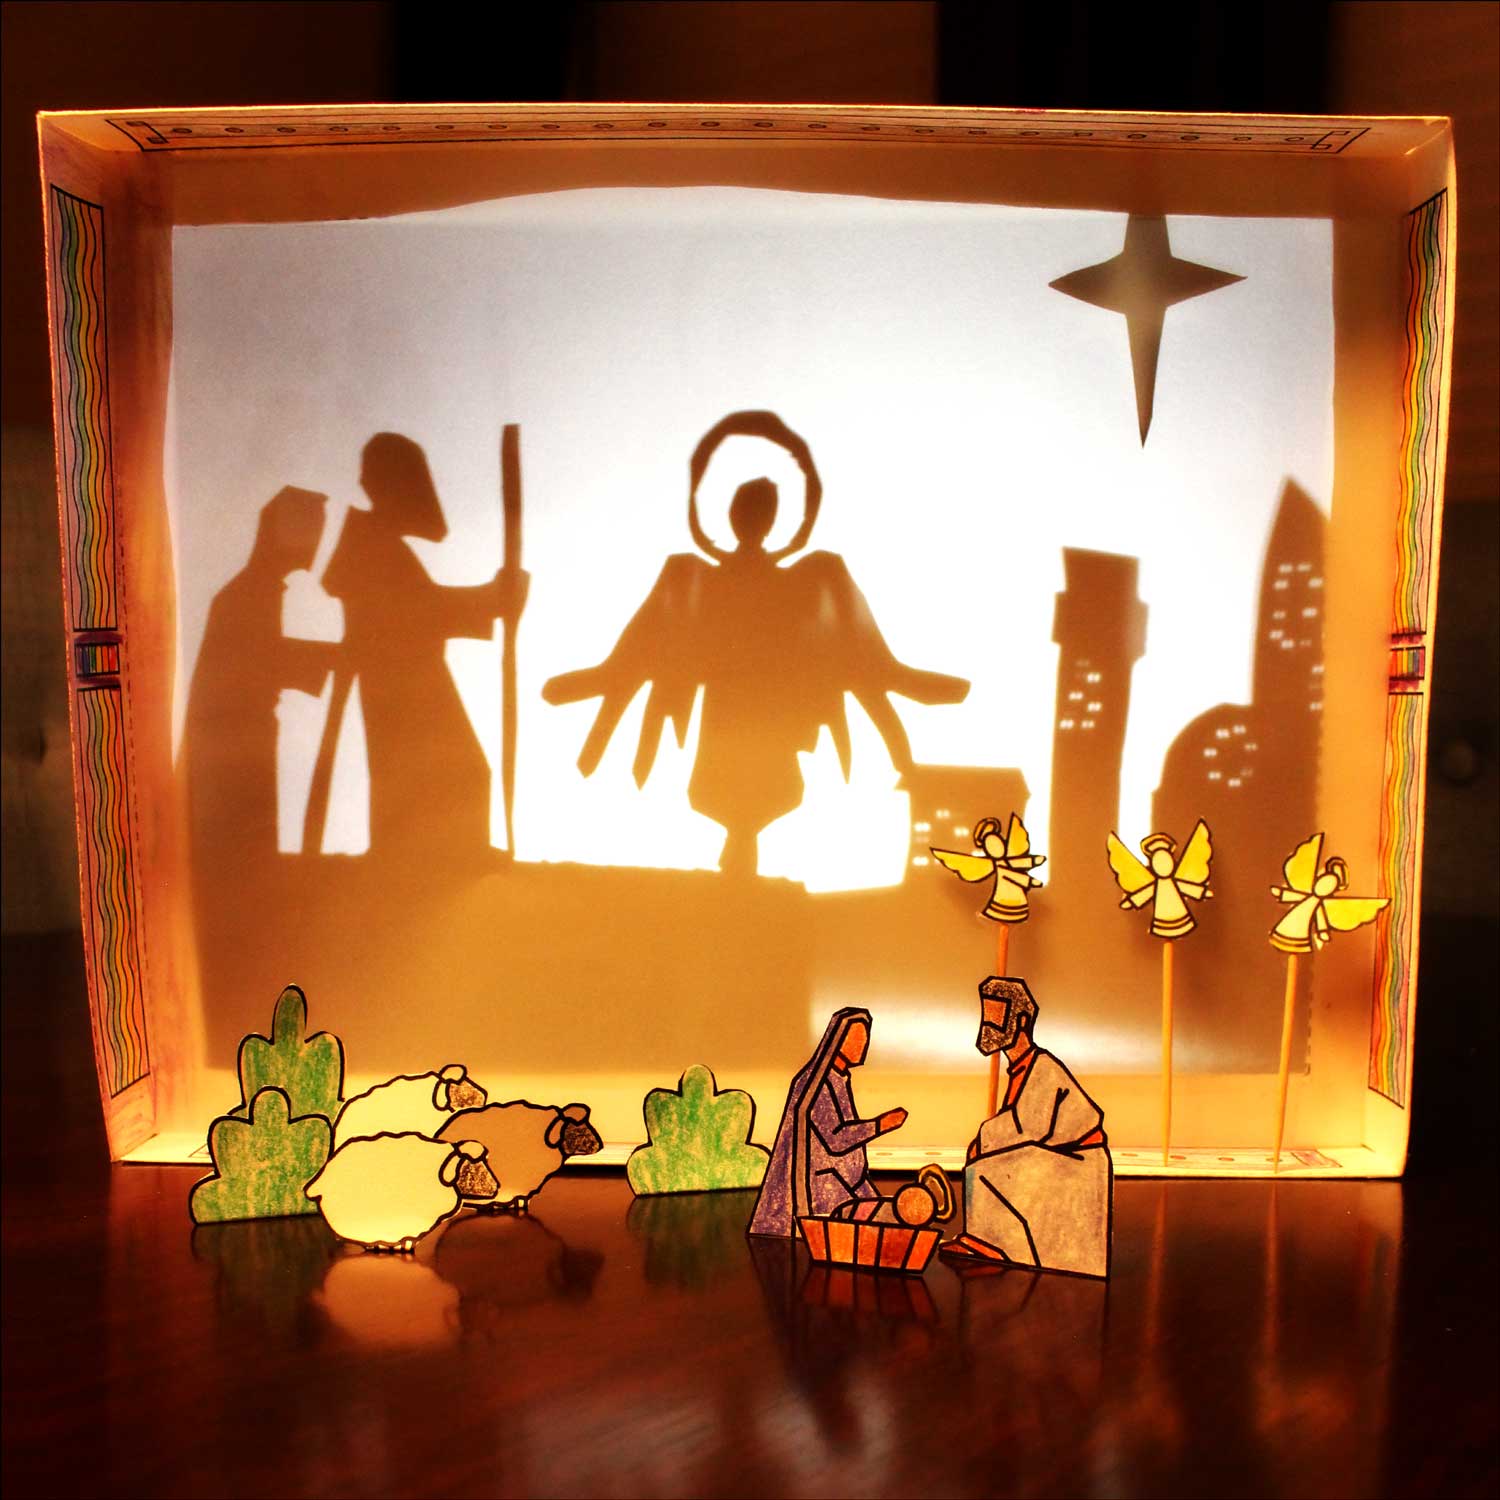
But those figures were a little too small for their idea. Our friends wanted life-size figures.
Life-size? Could we do that?
Sure!
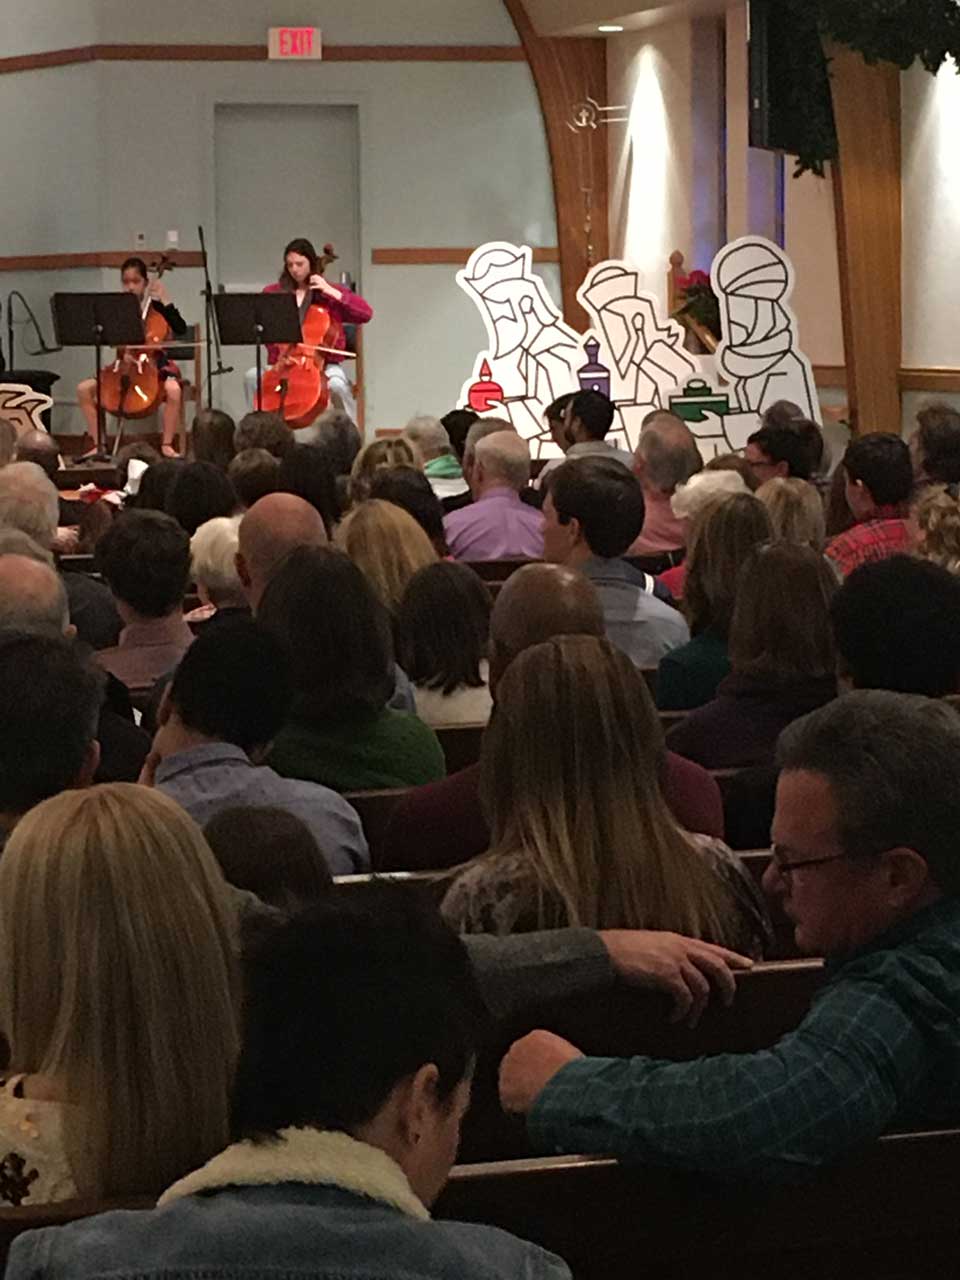
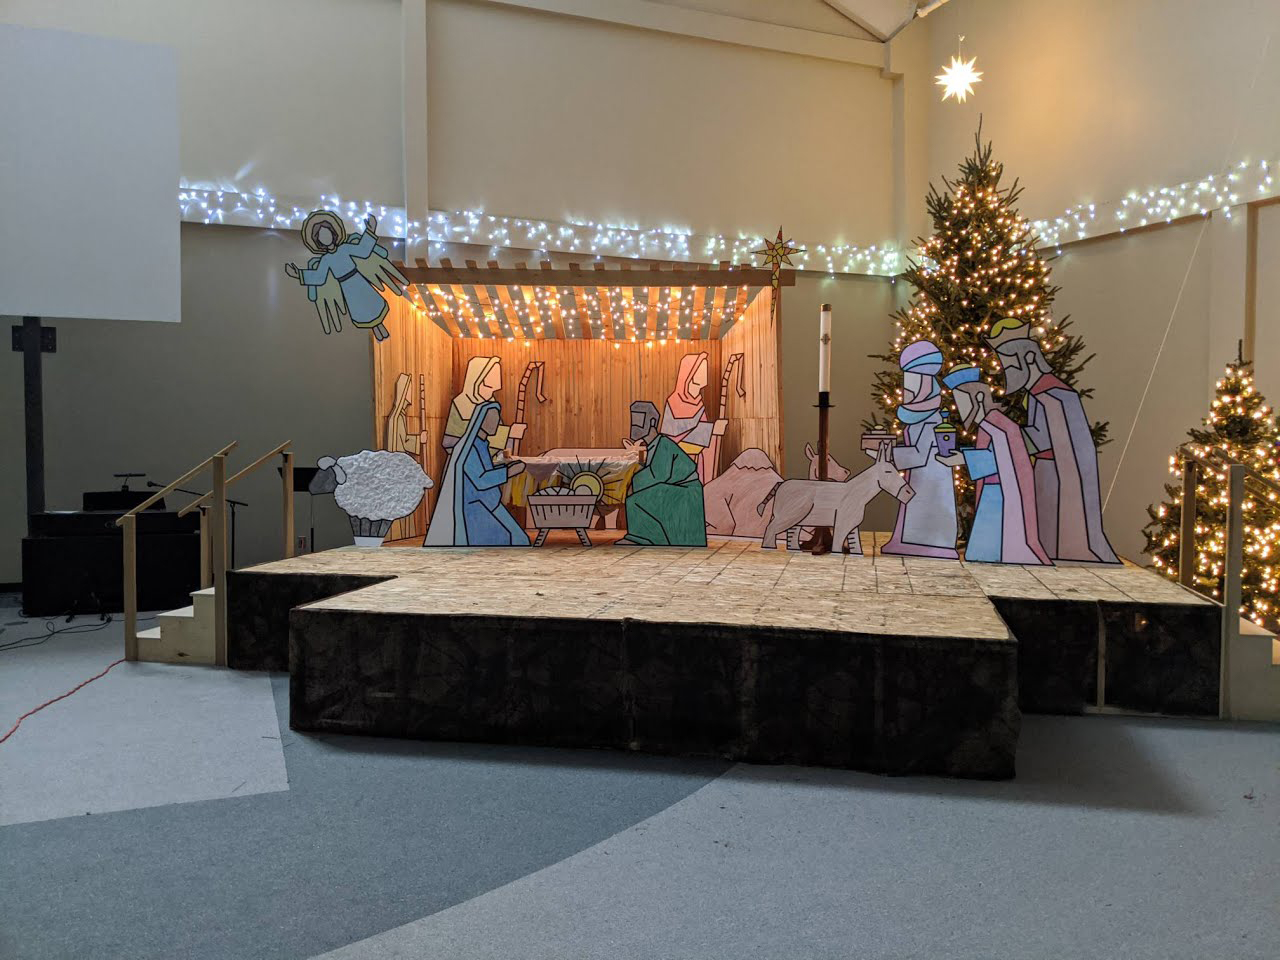
When we asked them for more details about their project, they told us how they wanted to use the Godly Play Christmas Eve story in their worship service, but knew they needed the pieces to be large enough for the whole congregation to see the story well. With 300+ people in attendance, they wanted each of the nativity figures to be visible in all areas of the sanctuary.
They reached out to see if we would work with them because they love how our art allows for imagination and inclusion and looks mature enough for everyone in their sanctuary setting to enjoy.
And we were delighted to help.
Creating Life-size Nativity Figures
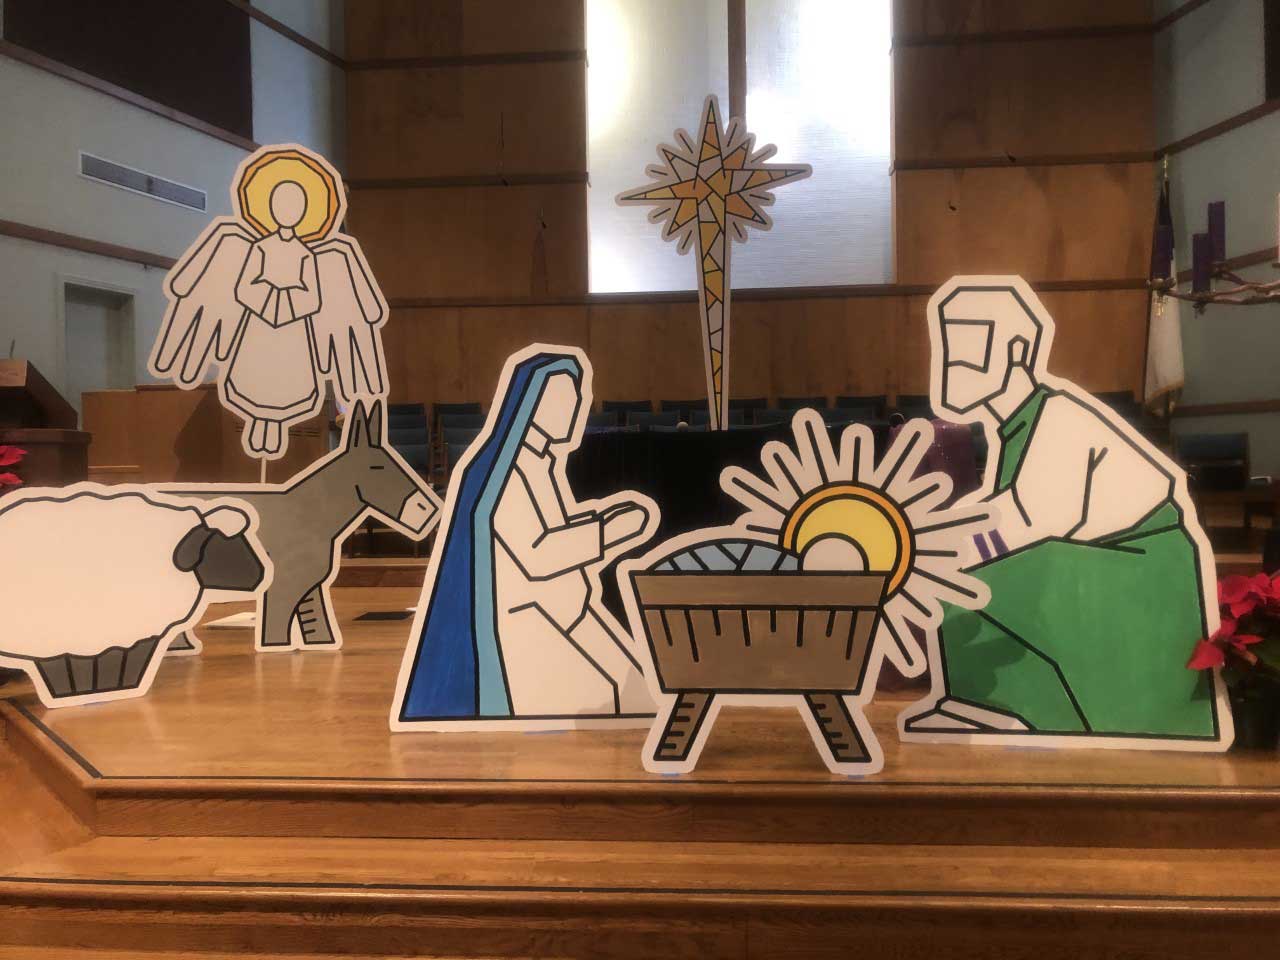
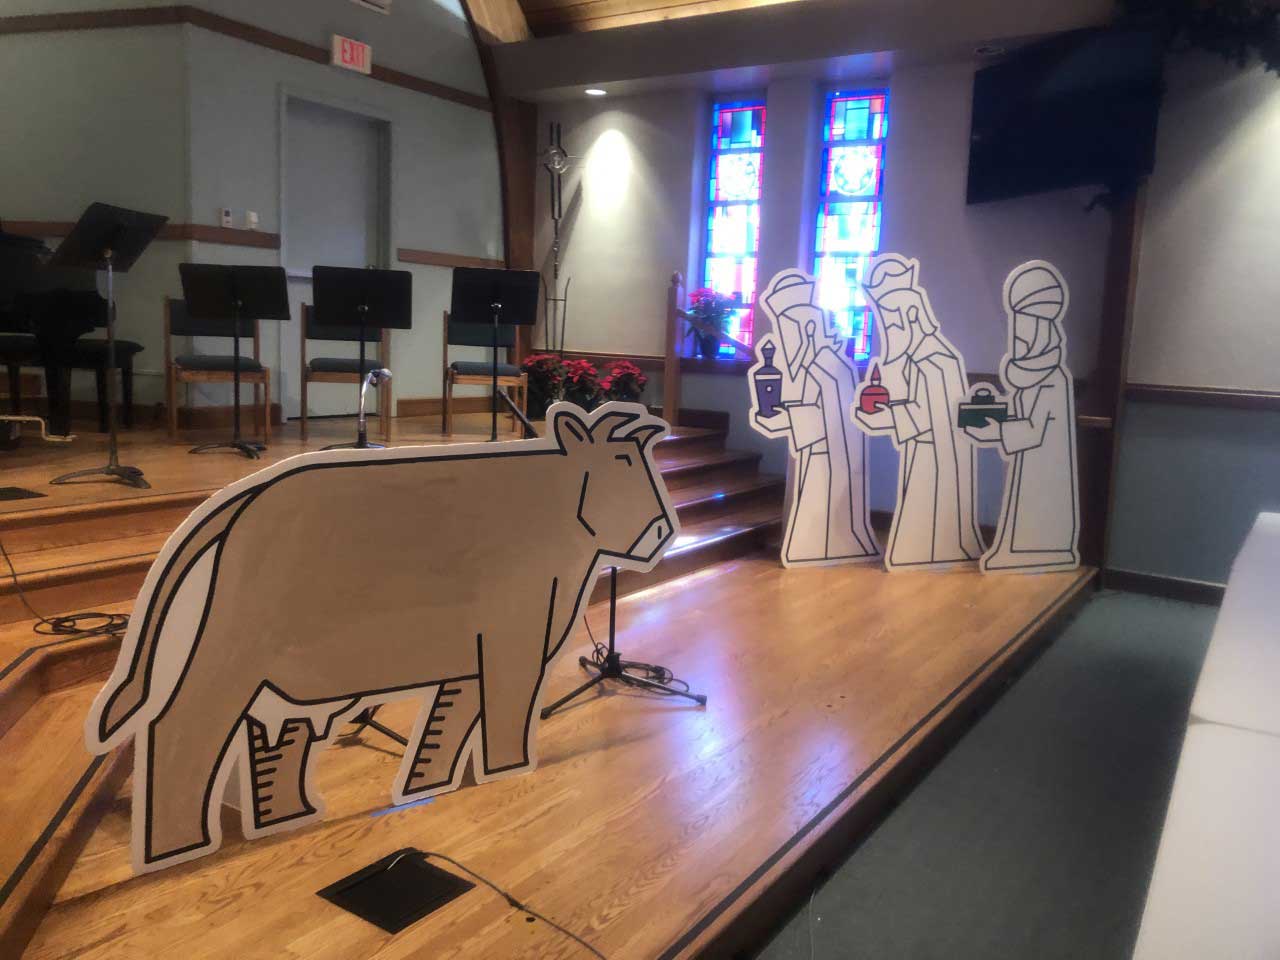
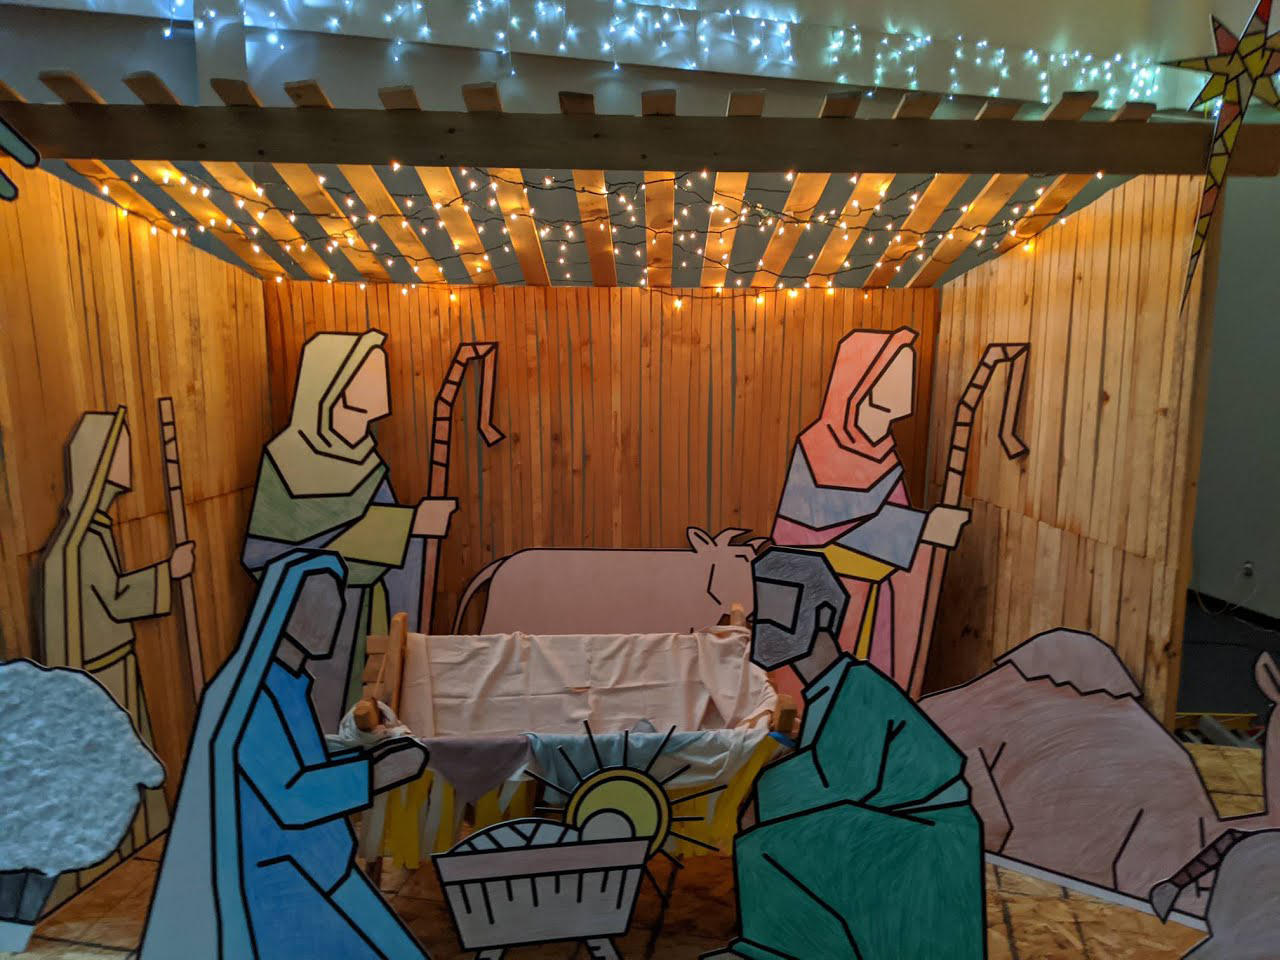
We all worked together to figure out the characters they needed, and then we created life-size digital images that could be used in their Christmas Eve service. The results were truly breathtaking.
These Illustrated Nativity Figures are now available in our store here, and we asked our friends from Saint John’s to give us more details about the supplies they needed and the steps they took to pull off such a fun idea!
We’re providing these digital Nativity figures to you, but in the end, how you choose to use them is entirely up to you! We CAN’T WAIT to see all of the creative ways you find to use them.
Below you will find their supply list and the steps Saint John’s took to make their Illustrated Nativity Figures.
Supply List
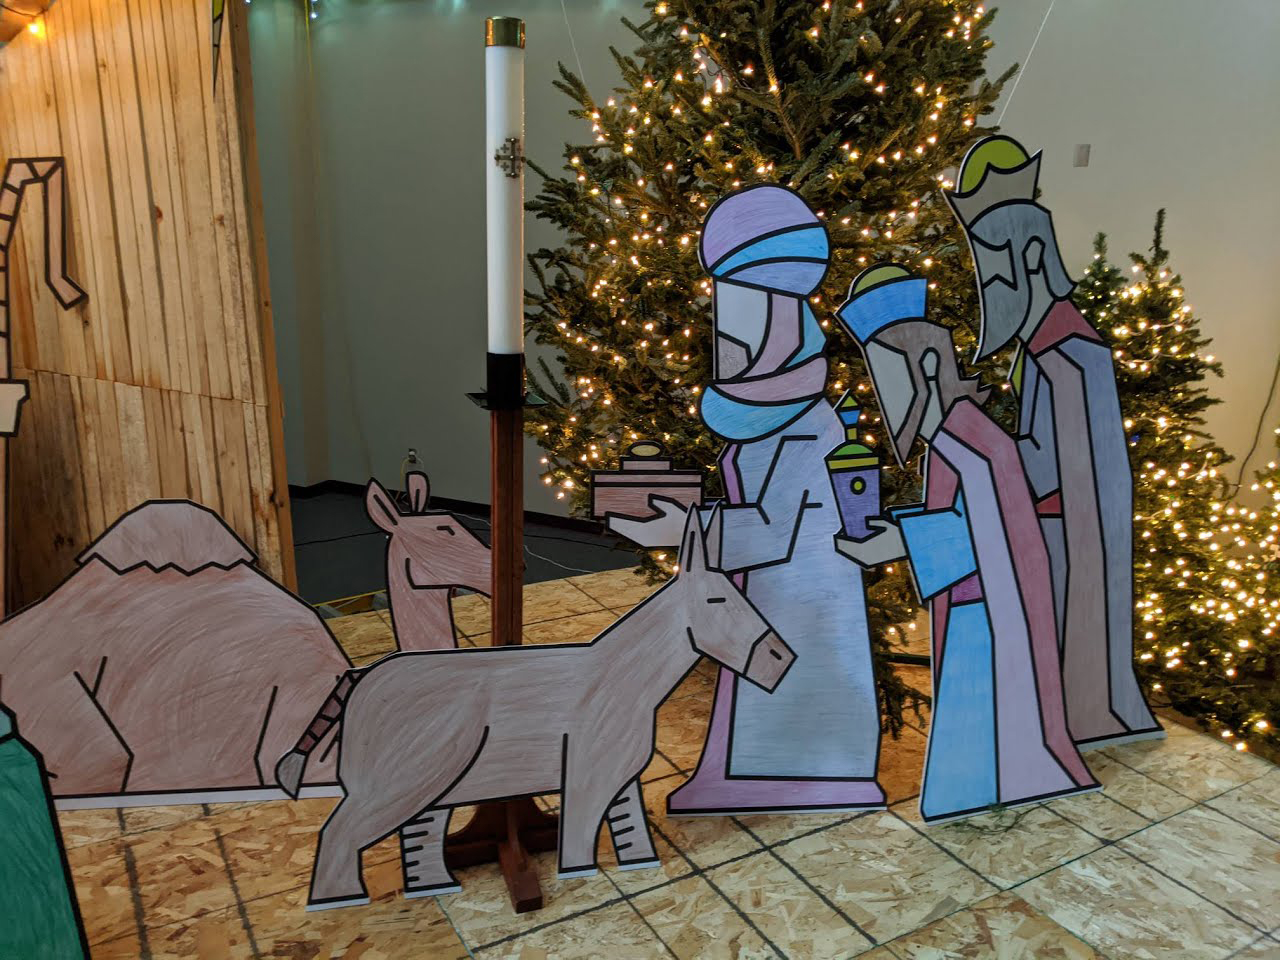
- Illustrated Nativity Figures: Mary, Joseph, Baby Jesus, cow, sheep, donkey, camel, three shepherds, teen shepherd, angels, magi, stars, and the “Emmanuel” banner. The tallest pieces might be around six feet tall.
- White Duct Tape: Use to attach the stands (made from large scraps of the foam board)
- PVC Pipe: cut to 6′–8′ (these heights depend on the specific needs for your setting)
- PVC Pipe connector
- Flange
- Plywood: One 8′ x 4′ piece of plywood cut in half to make two 4′ x 4′ pieces
- Eight screws (four for each stand)
- Screwdriver
- Hot knife
Steps for Creating your Characters
Get Your Life-size Figures Printed
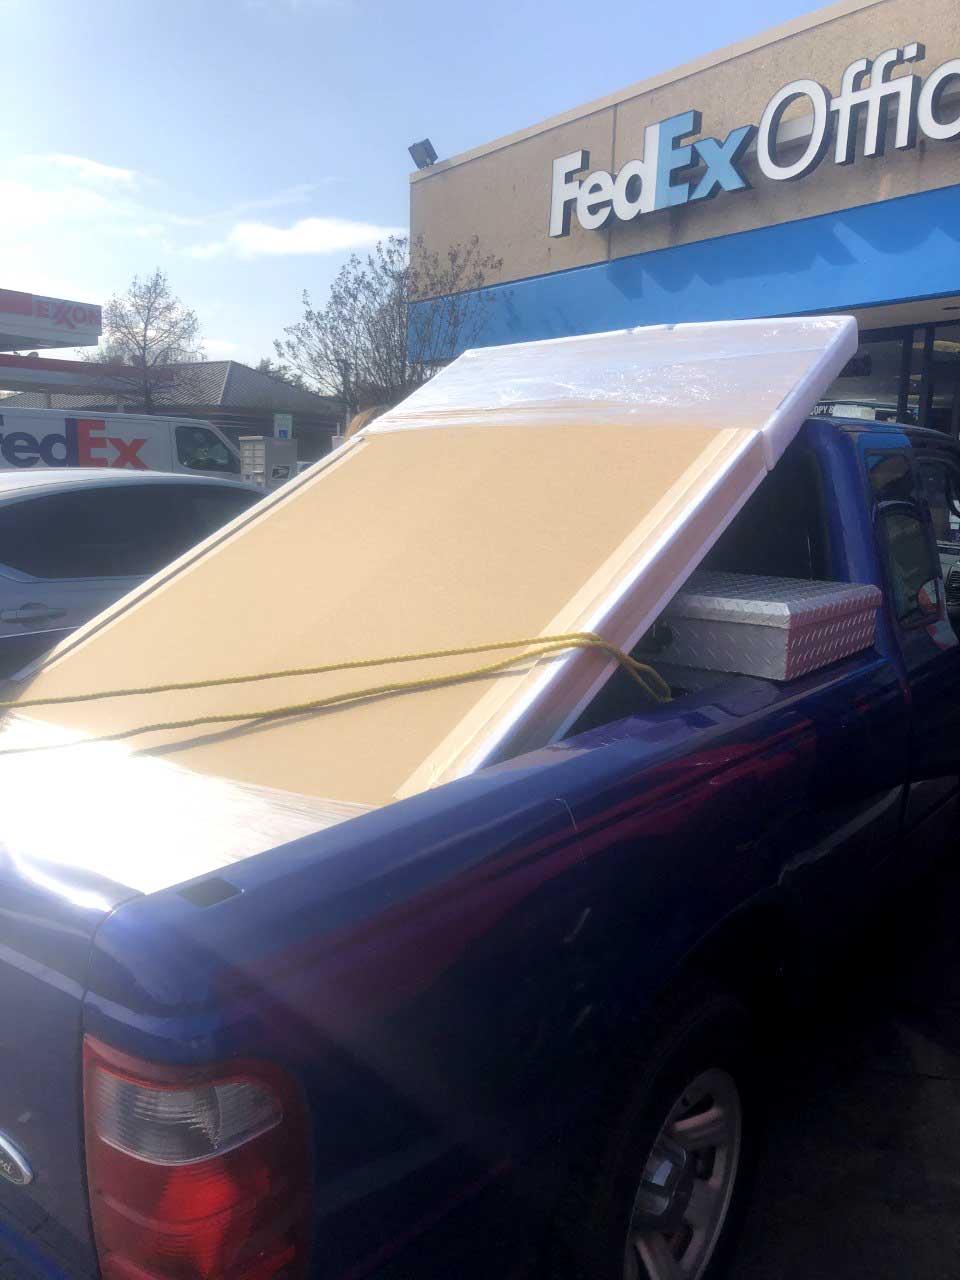
Having the digital images printed out on foam core boards at a place like FedEx/Kinkos will give you the smoothest finish and look. Another option is to print characters and designs out on large poster paper, and then glue them to insulation foam board with adhesive spray. This is less expensive but doesn’t give the same smooth finish as having a print shop directly print onto the foam core board.
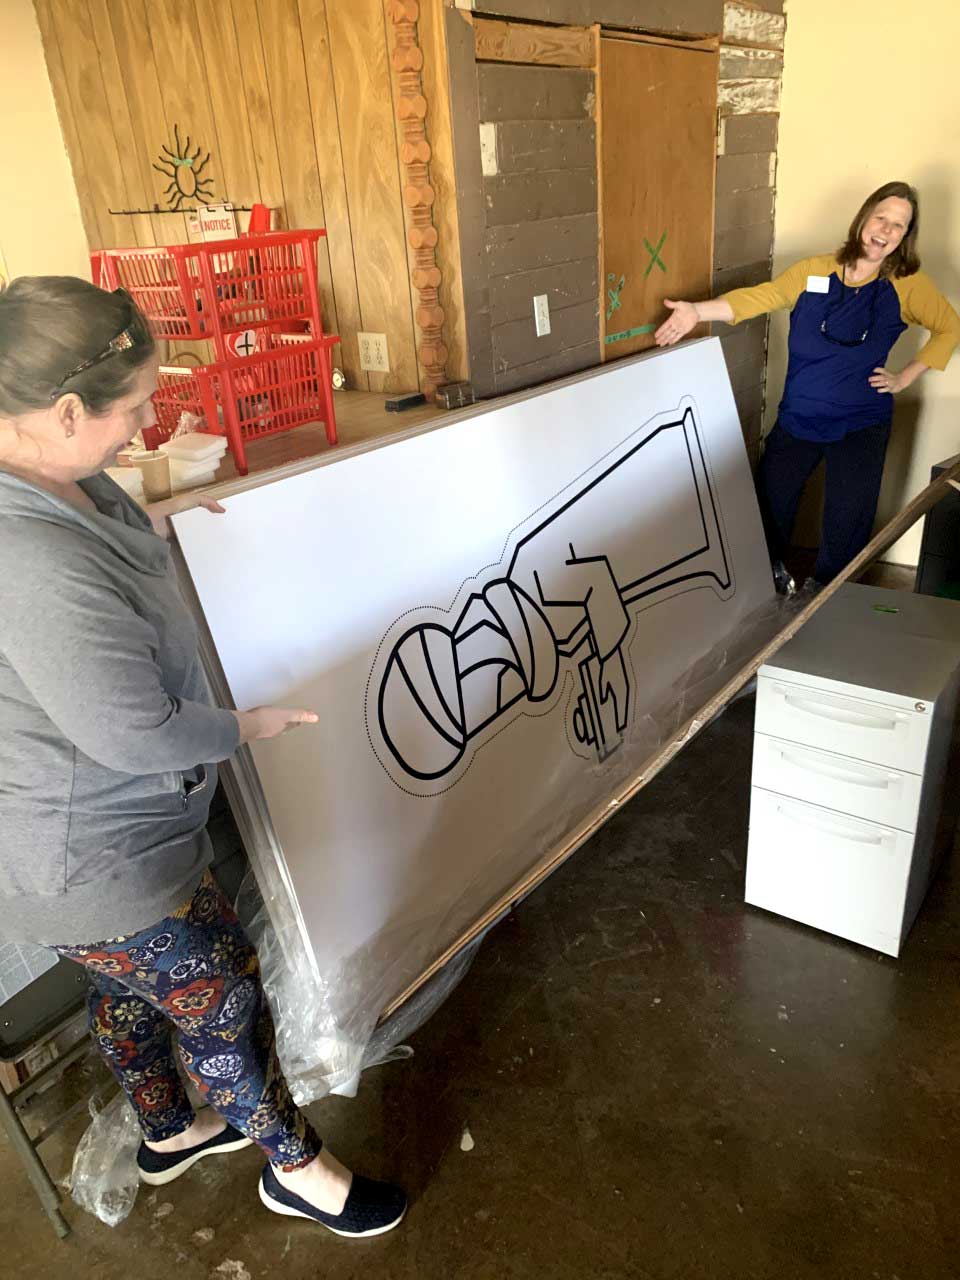
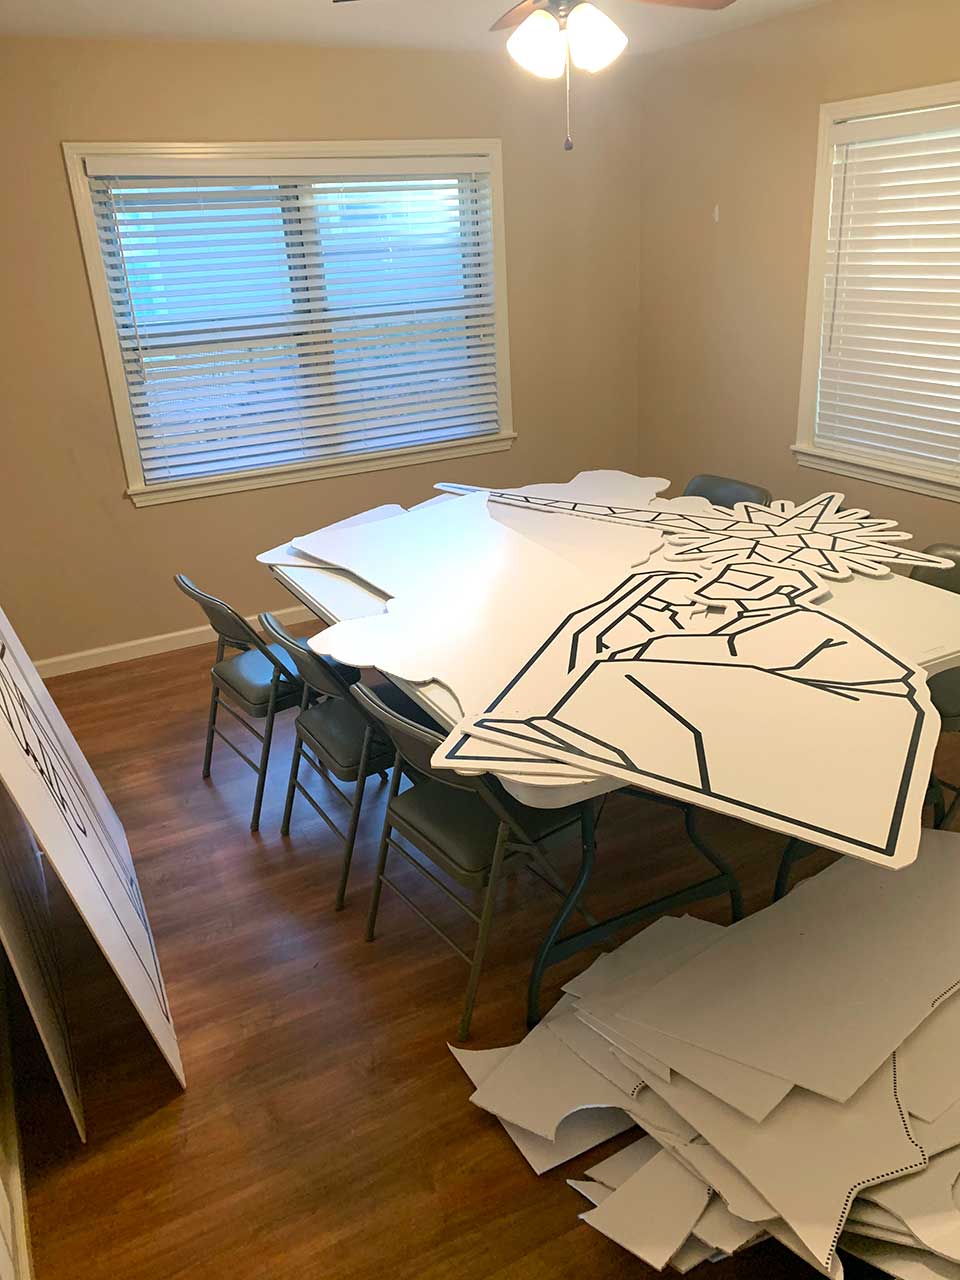
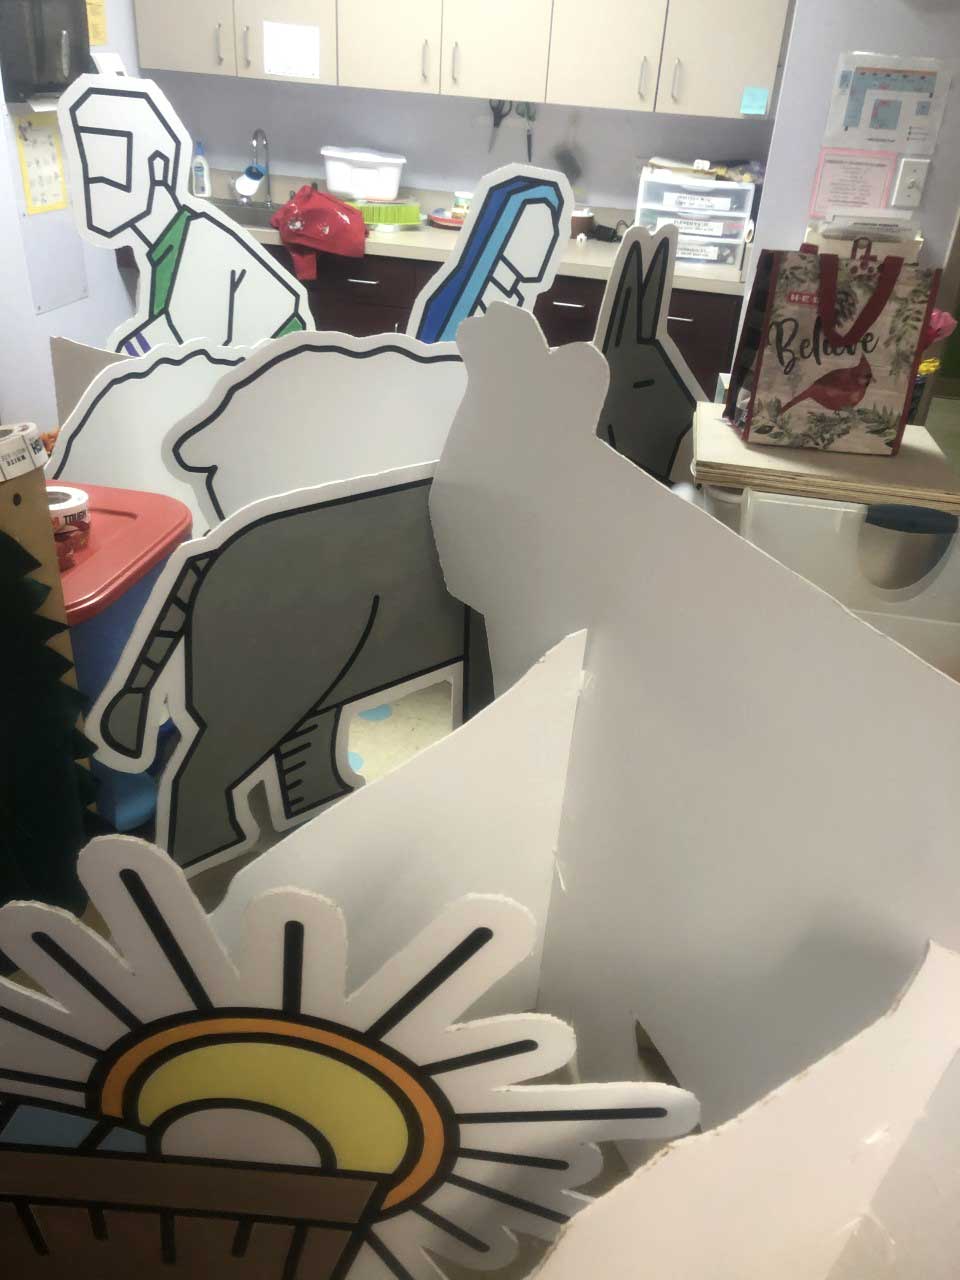
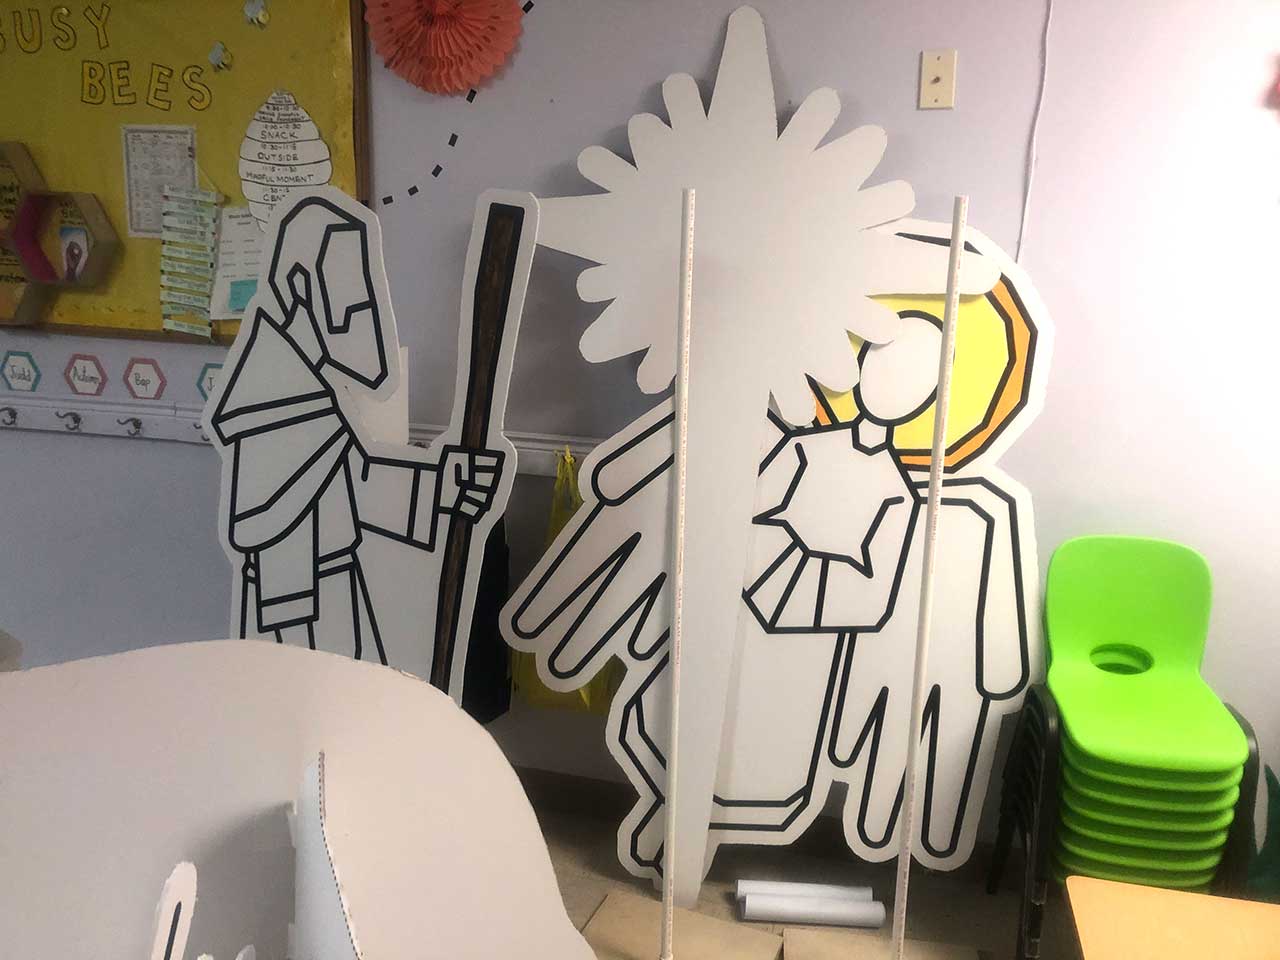
Cut out Characters
Cut out the character along the inside of each poster’s dotted cut lines using a hot knife—the dotted lines are about an inch from the characters’ solid outline. The hot knife can be tricky to find the right temperature without burning the board, so practice on a scrap area of the board before starting. When using the hot knife, please make sure you are in an open space—either outside with an electric outlet or in a garage with the garage door open. The hot knife gives off smoke and an unpleasant smell, so a well-ventilated area is essential. As you cut, try to keep your scrap pieces large and make sure to save them. These can be used to build the stands and add structural support to the “floating” pieces.
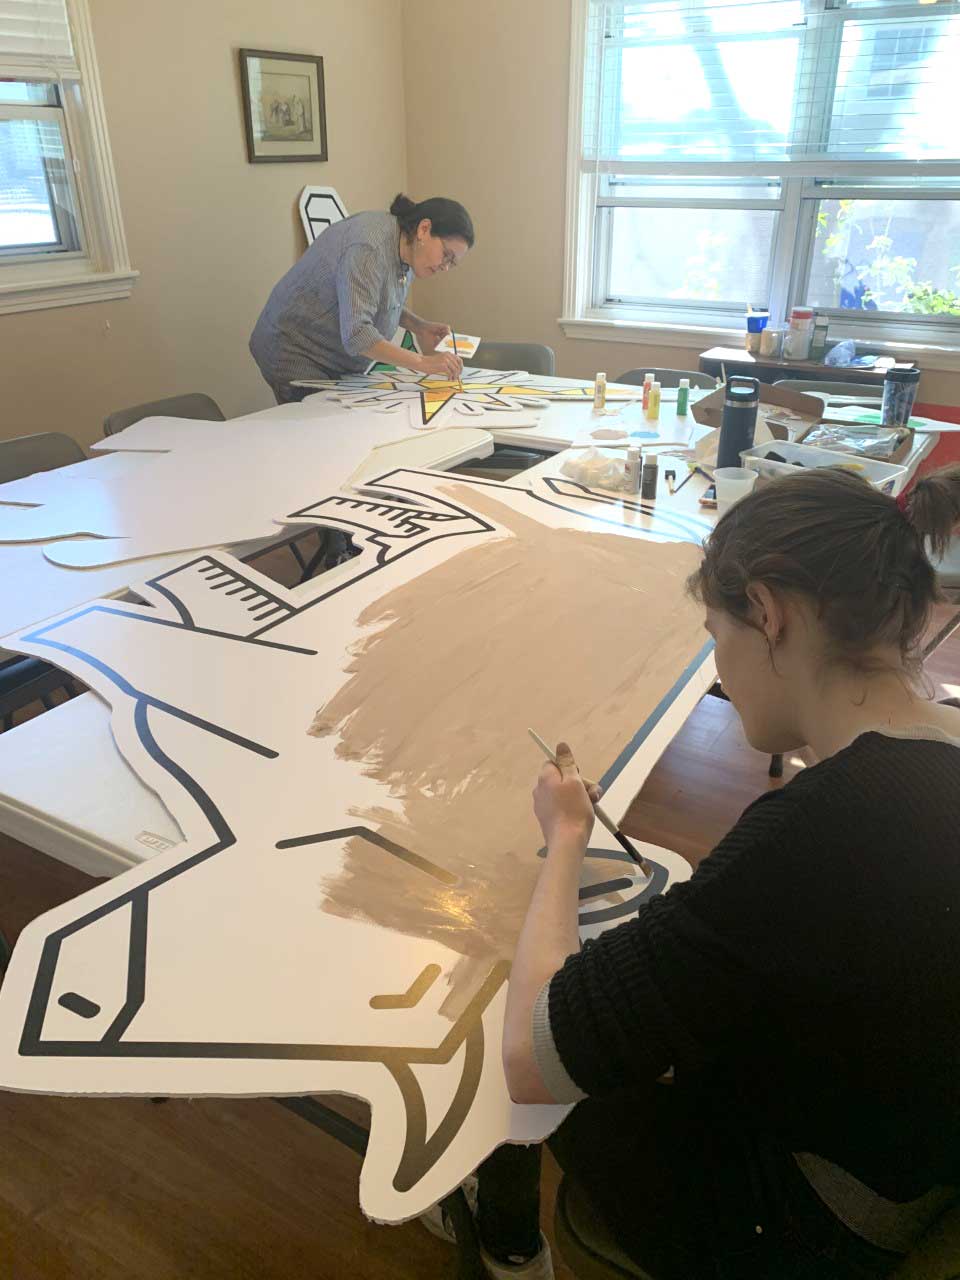
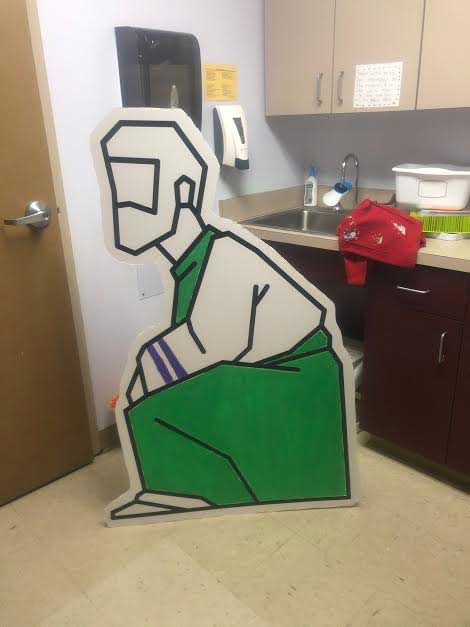
Paint Characters
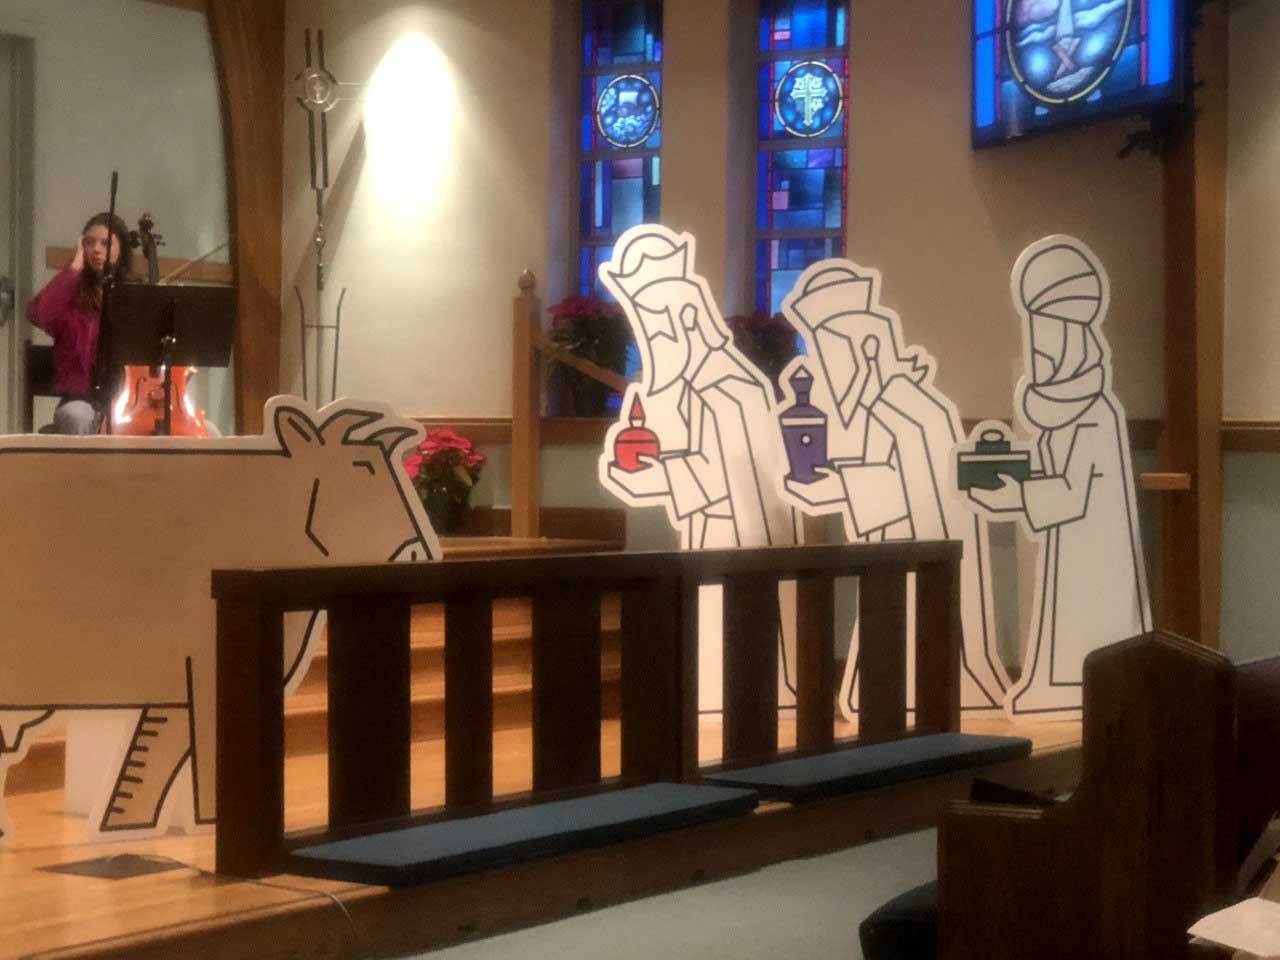
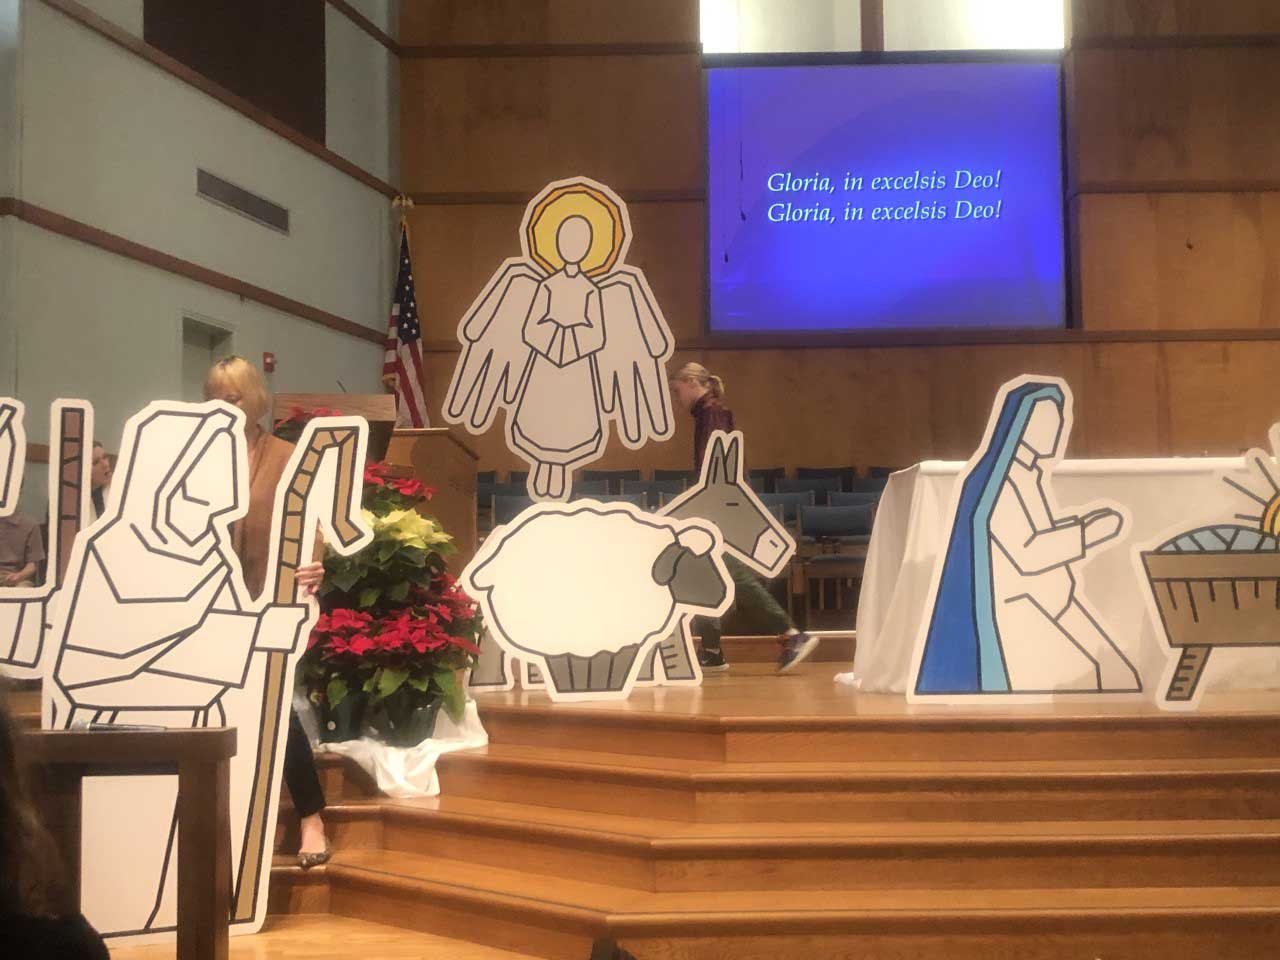
After cutting out the characters, you may decide to paint a portion of them (i.e., the magi’s gifts, the angels’ halos, the shepherds’ staffs, etc.) to help make them ‘pop’ and give them some extra dimensions. They used acrylic paint and made sure not to saturate the paper thoroughly. One coat was sufficient.

Make Stands
They then used the scrap pieces to make stands. They used different sizes and attached those pieces with white duct tape to each character’s back to make the “L” shaped stands. Finding the right angle and stability for each piece takes a little trial and error.
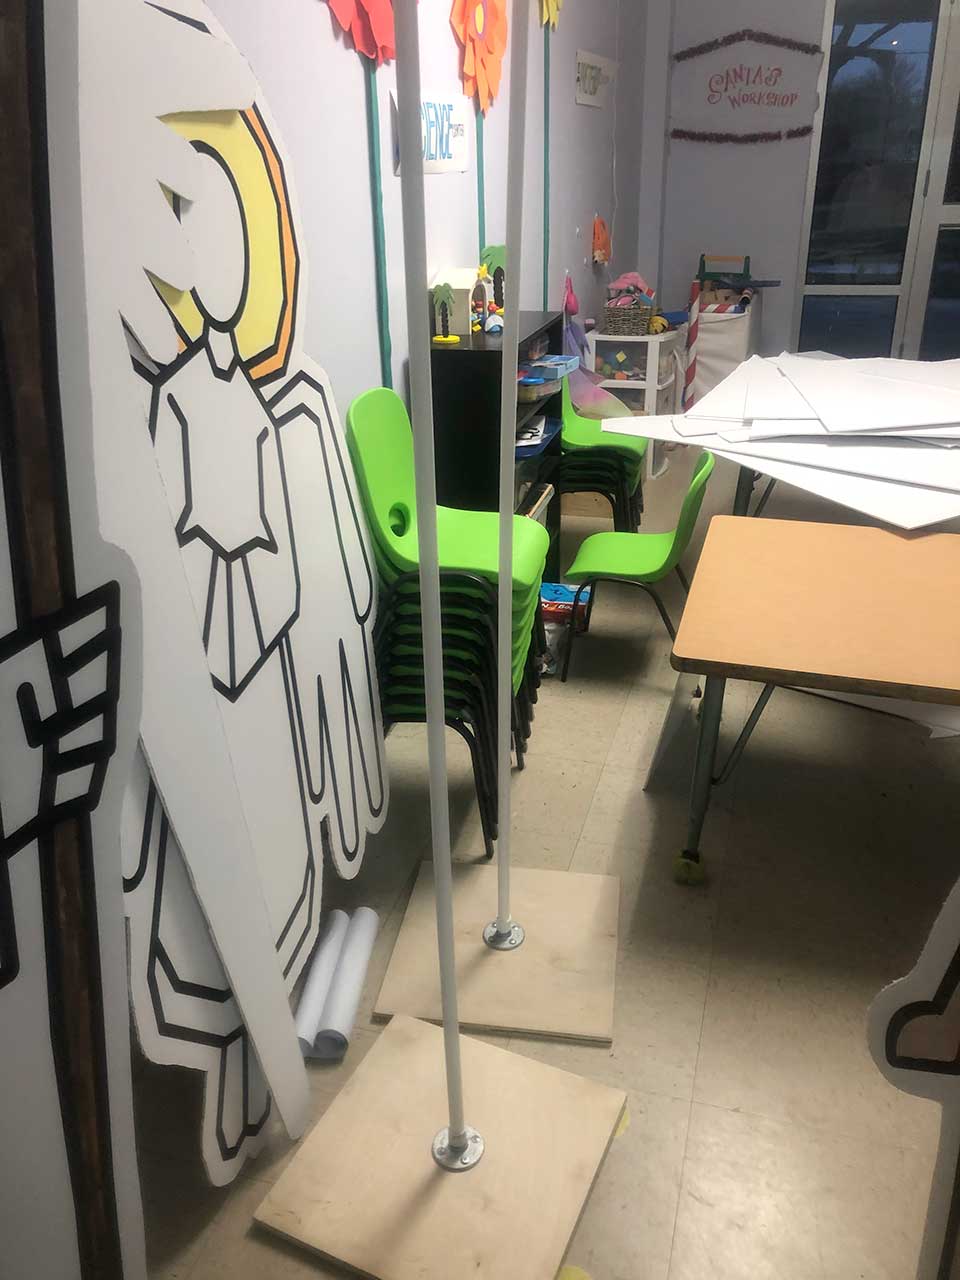
The star and the angel needed to be higher than all the rest, so they attached those with PVC pipes, a PVC connector, flange, plywood, and screws. They had a hardware store cut the plywood and the PVC pipe to the sizes they needed. (The plywood was about a 4′ square, and the PVC pipes were between 6′–8′ for them. Adjust accordingly for the height needed for your space.)
They screwed the flange down in the middle of each plywood board, using four screws on each flange and board. On the backs of the angels and the star, they taped scraps of the foam board to add structural support (using lots of white duct tape). Then they taped the PVC pipes to the backs, after evaluating and adjusting the height of each one.
Plan Placement
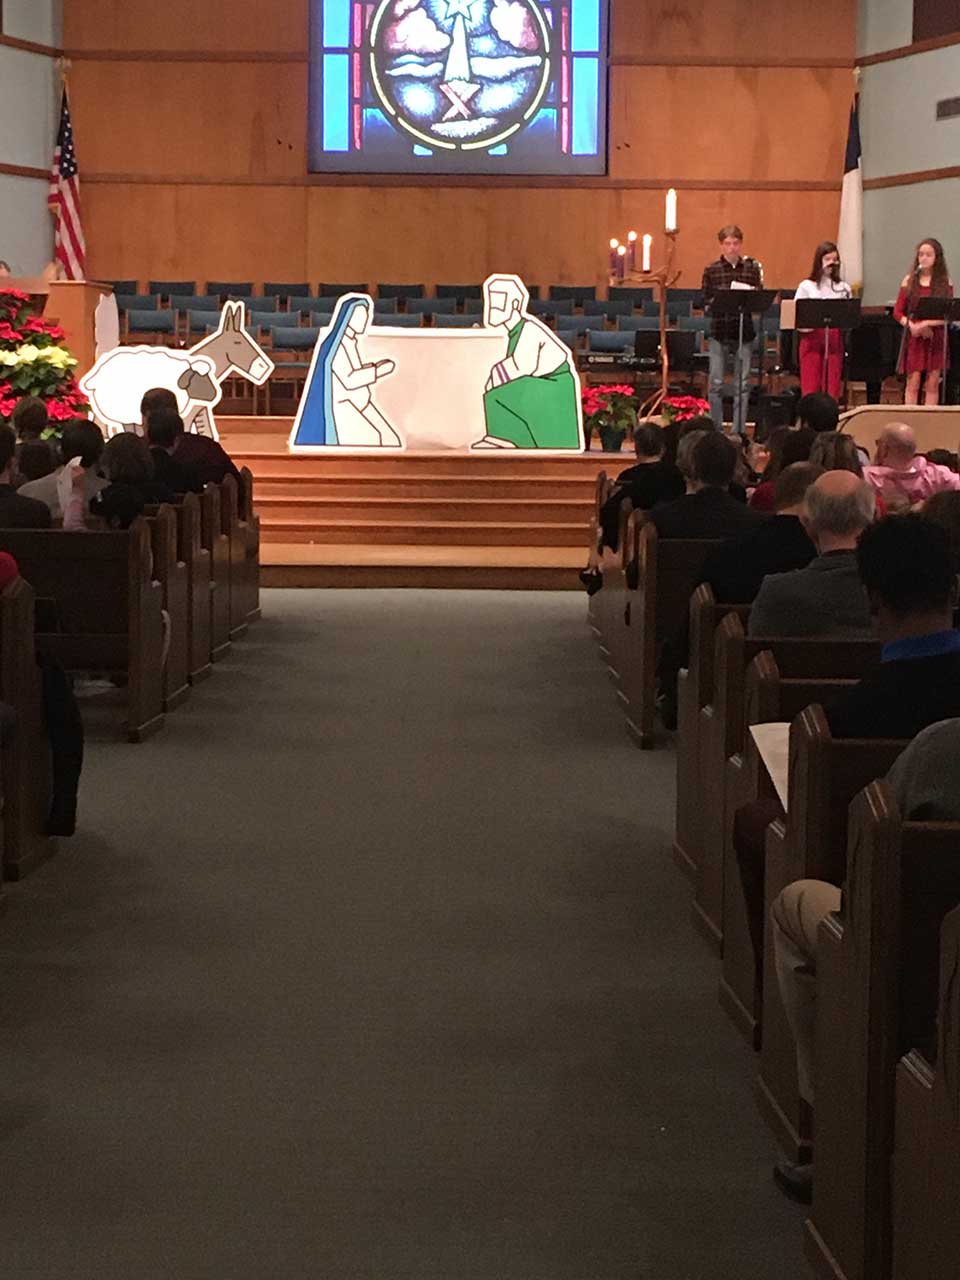
Before their Christmas Eve service, they placed all of the pieces on the “set.” They then put small pieces of blue tape on the floor to mark where each nativity figure would go. They rehearsed with their set crew, starting first with all the pieces in their final placement to see where everything needed to be placed. Then they rehearsed with each of the pieces in their “off-stage” places, and they practiced putting them in place with the timing of the readings.
They made their idea come to life and added each “character” to the set as they read through the Godly Play story. Using the intentional and slow movement from Godly Play, their “set crew” (including youth) walked each character on the set slowly so everyone could watch the placement.
Your Projected Costs
Check with your local printer for costs of printing the digital images, and check your local hardware store for prices of the supply list items.
Ideas for Using Illustrated Nativity Figures
We are so excited for you to start imagining and making fantastic creations with these Illustrated Nativity Figures. Here are a few photos from customers who have used our Illustrated Nativity Figures:
We know you will have more ideas, but here are a few ways you could consider using these Illustrated Nativity Figures:
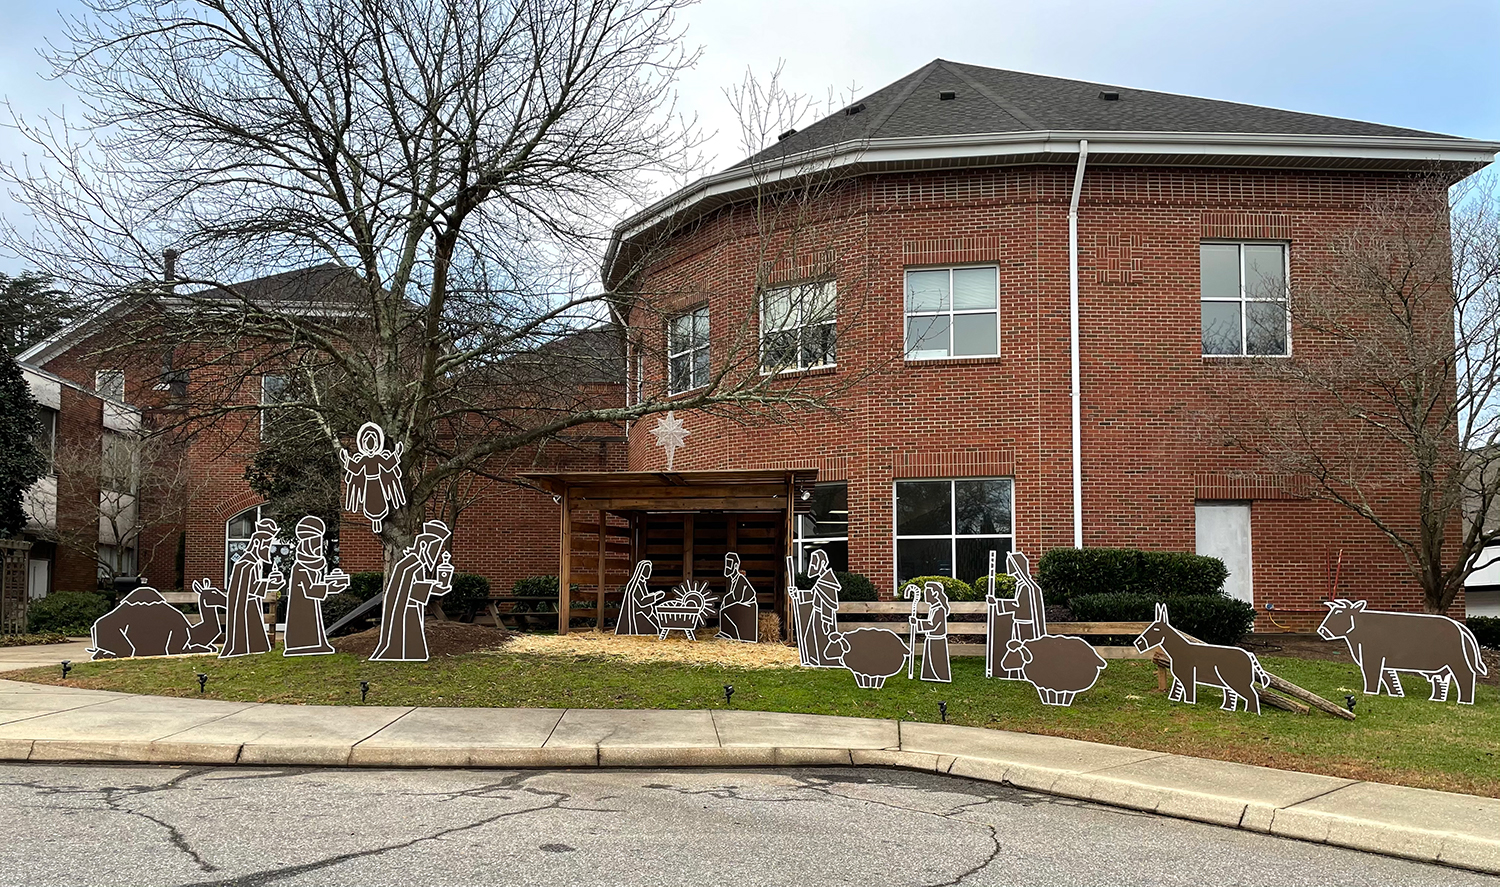
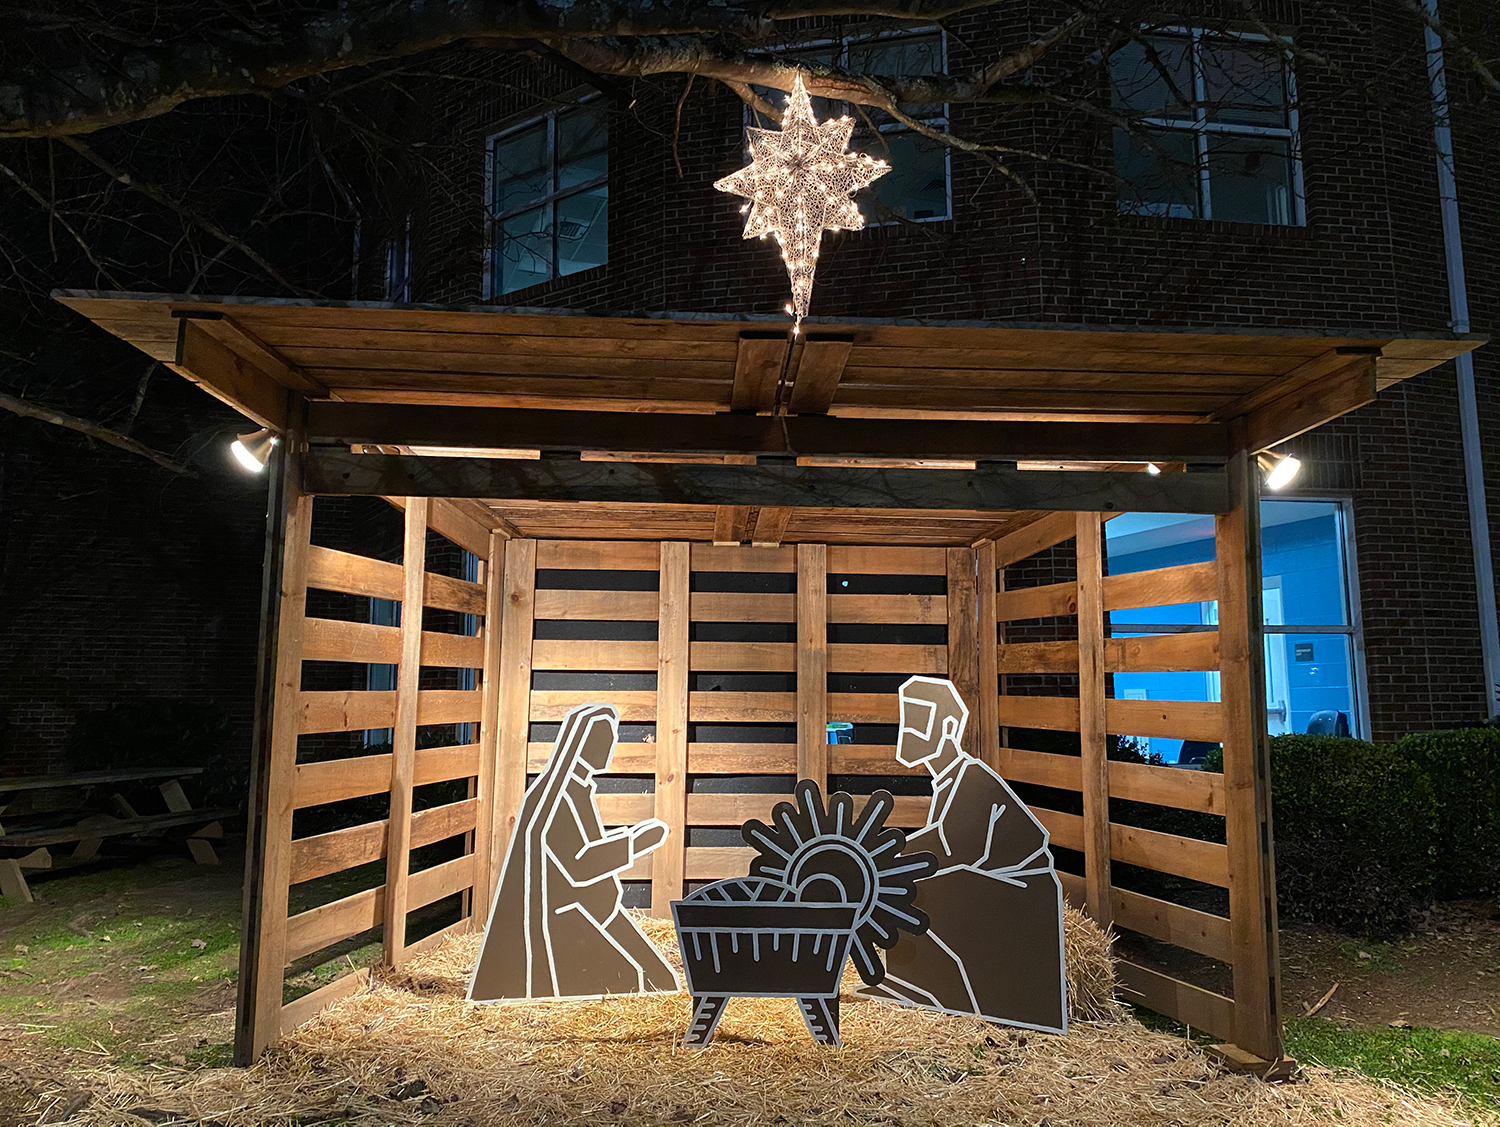
- Create a brand-new nativity scene to go outside your church. We all know the look of the ‘traditional’ Nativity scenes, and perhaps your church is ready for a new, modern, Illustrated Ministry-designed Nativity Scene.
- Have children, youth, or even individual families, agree to help paint and decorate one of the Illustrated Nativity Figures.
- Consider setting them up in your church’s parking lot and doing a drive-thru experience. Create a liturgy or set of readings that families could do together as they drive past each of the Illustrated Nativity Figures.
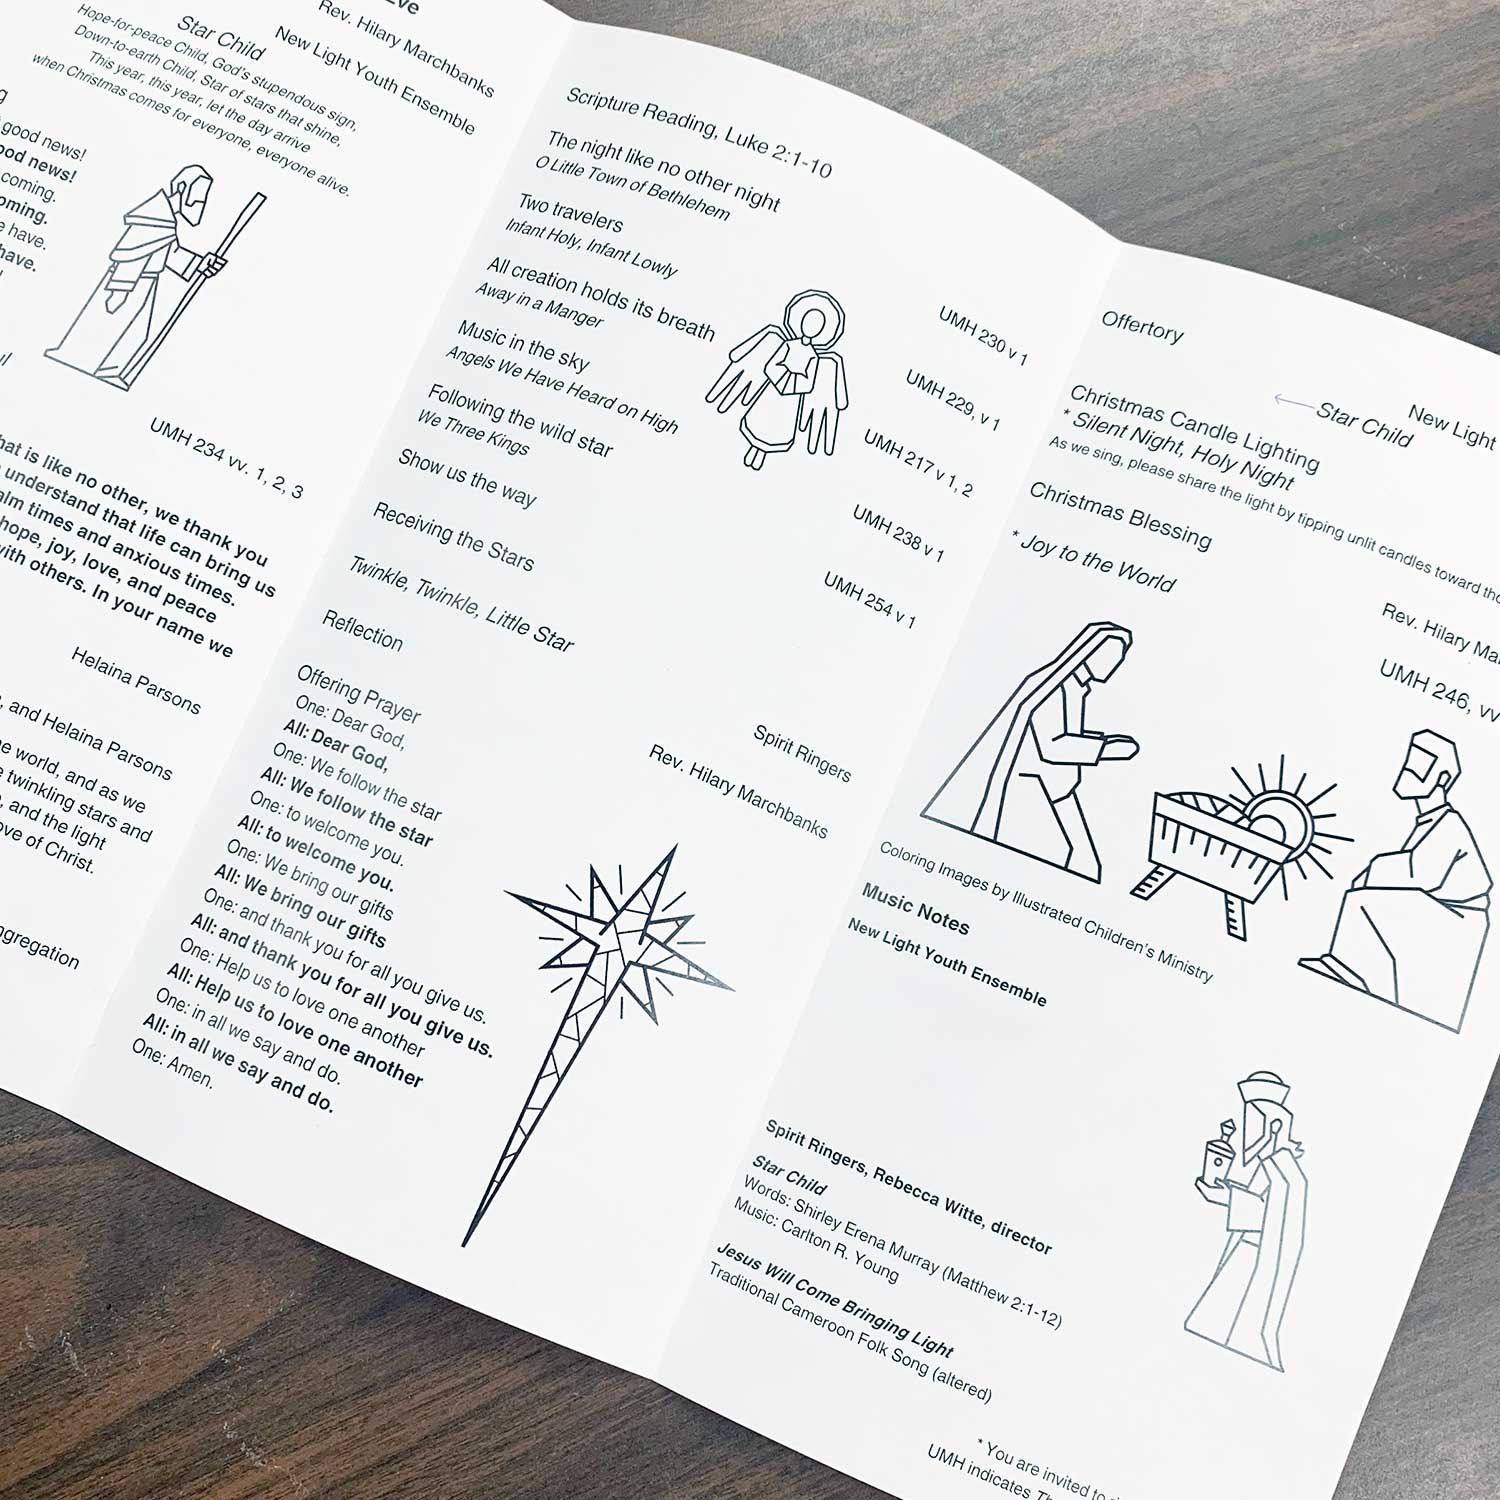
- Are you looking for new graphics for your Advent/Christmas worship bulletins? Or perhaps you could use them for slides, or even include them on Zoom backgrounds while you preach?
There are many ways you can use these in your ministry, especially when we’re all needing to rethink and reimagine what Advent and Christmas look like during a pandemic.
SUSAN SMITH says
I wanted to download the Nativity figures information on doing them life-sized but the link was not working.
Christine says
These are wonderful resources!
What were the outdoor, brown with white edge figures made of? How were they able to put the lines on the characters in the right places? I’m not much of an artist so any suggestions would be helpful!
Thank you for your brilliant work!
Adam Walker Cleaveland says
You’d have to speak with Bridget Kokolis of Augusta Road Baptist Church—they’re the ones who made those amazing figures. You can find more info here.